
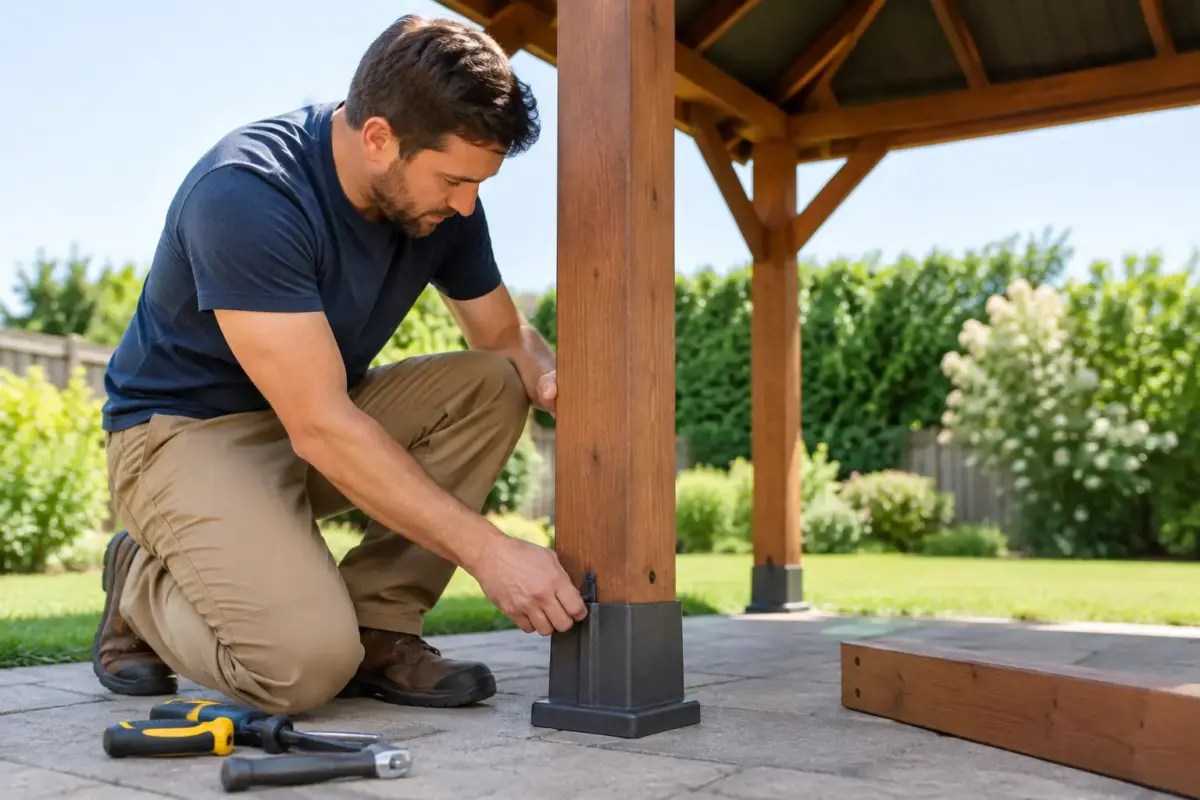
A bent gazebo leg can turn a reliable event setup into a frustrating safety issue fast. Whether it was clipped by a ute, twisted in a gust or damaged during pack-down, knowing how to replace a gazebo leg correctly protects the frame, the roof and the people working beneath it. The key is not simply fitting a piece of metal that looks close enough. It is identifying the exact section, profile and connection point your gazebo needs.
For market operators, sporting clubs, councils and event teams, a replacement leg is usually far more cost-effective than replacing an entire commercial gazebo. Get the match right and your shelter is back in service with its strength, height adjustment and clean presentation intact.
First, confirm which gazebo leg section is damaged
Most pop-up gazebos do not use one single leg. Each corner is generally made from an upper leg section and a lower telescopic section. The upper leg connects to the roof truss assembly, while the lower leg slides inside it and carries the foot plate. On some heavy-duty frames, a separate internal slider, leg connector or locking mechanism may also be involved.
Before ordering anything, set the gazebo up on level ground if it is safe to do so. Inspect all four corners and work out whether the damage is limited to the lower leg, the upper leg or the hardware between them. A lower leg that is dented near a height-adjustment hole may still slide poorly even if it looks almost straight. An upper leg with a slight bend can place the whole truss system under load and stop the frame from opening square.
Do not force a damaged gazebo open to diagnose it. If a leg is badly folded, cracked around a rivet or binding under tension, stop. Forcing the frame can bend roof bars, damage the canopy and turn a straightforward spare-part job into a full frame repair.
Check the profile, not just the length
Gazebo legs can look similar from a distance while being completely incompatible. Measure the outside profile of the leg section, including whether it is square, hexagonal or another shape. Record the width of each face, wall thickness where possible, overall section length and the position of holes, spring buttons and rivets.
Also check the material and frame class. Commercial aluminium frames, steel frames and lighter recreational structures use different leg profiles and connector systems. A replacement part from another brand or a cheaper gazebo may slide into the section but fail to lock correctly, sit at the wrong height or compromise the structure under wind load.
Take clear photos of the damaged section alongside a tape measure. Include the top and bottom ends, every drilled hole, the foot plate and the locking button. If you have the original order details, gazebo size and frame grade, keep these with the photos. This is the fastest way to confirm the correct spare part.
Tools and parts you will need
The job is normally straightforward, but a clean workspace and the right hardware matter. You will need the correct replacement leg section, safety glasses, work gloves, a drill with suitable bits if rivets must be removed, a rivet gun and replacement rivets, plus spanners or a socket set if your model uses bolts.
Have a second person on hand for upper-leg replacement. The roof assembly is awkward rather than exceptionally heavy, and an extra set of hands prevents the frame twisting while the corner is disconnected. Lay a blanket, cardboard or a tarp underneath the corner you are working on to protect the roof fabric and keep small parts out of the dirt.
If the old leg has a spring button, plastic end cap, foot plate or internal slider that is still in good condition, do not assume it will transfer to the new section. Check that the replacement is supplied as a complete assembly or confirm exactly which pieces need to be retained.
How to replace a gazebo leg step by step
Start with the gazebo roof removed or folded back where practical. You need clear access to the leg connection and should not work against tension from a fitted canopy. Place the frame on a flat surface and partially open it only enough to access the affected corner. Keep the other legs at the same height so the frame remains supported.
For a lower leg replacement, press the spring button and slide the lower section out of the upper leg. If it will not release due to a dent, avoid levering against the upper section. Remove any foot plate, cap or retaining hardware first, then carefully free the damaged part. Fit the replacement lower leg in the same orientation, ensuring the adjustment holes face the correct direction and the button engages cleanly at every height setting.
For an upper leg replacement, begin by photographing the corner connection. This gives you a reliable reference for truss-bar orientation, bolt locations and any spacer washers. Support the roof frame while you remove the bolts or drill out the rivets that secure the upper leg to the corner brackets and roof trusses.
Once disconnected, remove the damaged upper leg and compare it directly with the replacement. Hole placement must line up precisely. Fit the new section without fully tightening hardware at first, reconnecting each truss and bracket in the original order. When all connections are seated and the frame opens evenly, tighten bolts or install new rivets securely.
Do not substitute undersized bolts, self-tapping screws or soft rivets. The leg connection carries repeated load as the gazebo opens, closes and handles wind pressure. Use hardware that matches the original specification or the supplier’s recommendation.
Test the frame before fitting the roof
With the new leg installed, open and close the gazebo several times without the roof. Watch the repaired corner closely. It should extend at the same rate as the other corners, lock at the same heights and sit square on the ground.
Check for rubbing, clicking, loose rivets or a leg that sits proud of the frame. A correctly fitted replacement should not need force to telescope. If it binds, stop and recheck the leg orientation, hole alignment and whether a bent roof truss is still pulling the corner out of square.
Once the frame passes this test, refit the roof and inspect the canopy tension. An uneven roof line is often the first sign that a corner connection is not seated correctly. The roof should be taut but not overstretched, with no single leg carrying more load than the others.
When replacing one leg is not enough
A new leg cannot correct damage elsewhere in the frame. After a hard impact or wind event, inspect the associated roof trusses, knuckles, brackets and foot plate. Look for hairline cracks around rivets, elongated bolt holes and aluminium sections that have gone slightly oval. These faults can remain hidden until the gazebo is loaded at a busy event.
If more than one corner is bent, the frame will not open smoothly or the gazebo has been involved in a significant wind incident, consider replacing the affected frame assembly rather than patching individual parts. This is especially relevant for commercial shelters used at regular markets, roadside promotions, race meetings or council events. A gazebo is working infrastructure. It needs to stand straight, lock positively and perform consistently.
Never treat a repaired gazebo as suitable for high winds without proper restraint. Use the correct weight system, pegs and tie-downs for the surface and conditions, and follow the wind rating applicable to your specific frame and setup. A replacement leg restores the structure. It does not remove the need for sound site management.
Getting the right replacement part
The quickest path is to supply the gazebo size, frame type, photos and measurements to the original supplier. Mountain Shade can help identify compatible spare parts for its commercial gazebo range, including leg sections and related frame components. Accurate information avoids downtime, return freight and the frustration of receiving a part that is nearly right.
Keep a record of the repaired corner and the date it was fitted, particularly if the gazebo is shared between staff or used across multiple locations. A quick pre-event inspection of legs, locks and truss connections then becomes part of normal pack-out procedure.
A straight, correctly matched leg gives your gazebo more than a tidy appearance. It restores safe setup, protects your canopy and keeps your branded shelter looking sharp when customers, members and event crowds are watching.
