
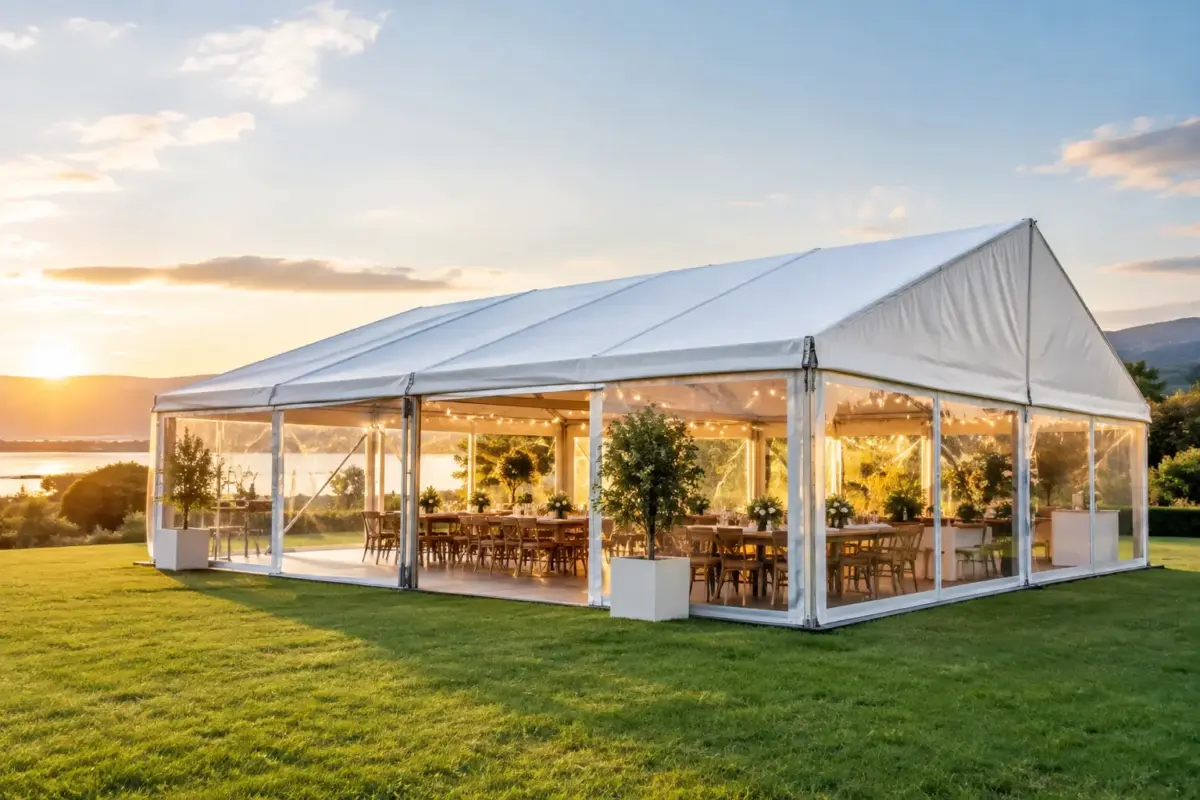
A single 3 x 3 m shelter can cover a market stall. Joined modular marquees can cover registration, product demos, first aid, team operations and customer queues under one consistent branded footprint. That difference matters when your organisation attends more than one event a year. You are not buying a temporary roof for Saturday morning – you are investing in portable infrastructure that needs to look sharp, set up quickly and hold its ground in real Australian conditions.
For councils, sporting clubs, schools, trade teams and marketing crews, a modular system gives you room to grow without replacing everything each time the event brief changes. The right setup can start compact, then expand into a serious event presence when the calendar demands it.
What modular marquees actually give you
A modular marquee system uses multiple compatible shelters that can stand independently or connect side by side. Depending on the configuration, you can create a long frontage, an L-shape, a U-shaped operations area or separate zones that still carry the same visual identity.
That flexibility is useful because event sites are rarely identical. One weekend you may have a narrow 6 m frontage at a community market. The next, you may need a covered 6 x 6 m hub for a sports carnival, with one bay for merchandise, one for registrations and another for staff. Rather than forcing every job into one oversized structure, you can build the footprint around the available space.
There is a practical commercial advantage too. Individual frames, roofs and walls are easier to transport, store and deploy than one large fixed marquee. A team can carry components in a ute, van or trailer, then add bays as foot traffic and operational needs increase.
Start with the job, not the floor plan
The best modular layout is dictated by what needs to happen beneath it. Marketing teams often focus first on the roof print, but a strong branded roof cannot solve a cramped service area, an exposed queue or a poor staff workflow.
For sales and sampling, a straight run of connected bays creates a clear, approachable frontage. Open the front walls, use half walls where appropriate and position branded counters so people can step in without creating a bottleneck. If you are handling payments, stock or lead capture, a rear wall can create a more controlled work zone.
For sporting events and race teams, an L-shape can be more functional. It gives you a public-facing side for supporters or sponsors while keeping equipment, hydration and staff activity protected behind the scenes. Councils and emergency response teams may prefer a U-shape that defines an intake or information point while retaining several open access points.
Bigger is not always better. A large connected layout needs enough clear site area, a crew capable of setting it up safely and a transport plan for the extra weight. Where events are frequent but small, two commercial 3 x 3 m marquees may be a smarter starting point than buying capacity you only use once a year.
Plan for movement, weather and visibility
Mark out more than the roof dimensions. Think about the space needed for walls, anchors, customers, accessible entry, display stands and the direction of the afternoon sun. A structure that looks generous on a site map can feel tight once staff, stock and a queue are inside the footprint.
Orientation changes the experience as much as layout. Point the open side towards arriving foot traffic, not just the closest car park. Use walls to block prevailing wind or low sun, but avoid turning a busy activation into a closed box. Your branding should be visible from the approach, across the event site and in the photos people take from outside the shelter.
Frame strength is the non-negotiable
Modular marquee systems are only as dependable as the frames doing the work. Connecting several shelters does not make light-duty equipment commercial grade. If the frames flex, connectors loosen or roof fabric is under tension, the weakest component becomes the problem.
Look closely at leg profile, aluminium or steel construction, truss design, corner hardware and the quality of the joining system. Heavy-duty commercial frames cost more than entry-level pop-ups, but they are built for repeat deployment and the knocks that come with event work. That is a better fit for organisations that cannot afford a shelter to look tired after a short run of markets or activations.
Wind ratings also need to be read properly. A stated rating is not permission to leave a marquee unattended in worsening weather. It relies on correct installation, suitable anchoring and conditions remaining within the product guidance. Selected heavy-duty 3 x 3 m structures can be rated up to 100 km/h when correctly secured, but site conditions, wind direction, soil type and the amount of walling all affect how a setup performs.
If an event manager asks whether the marquee is safe, vague assurances are not enough. You need a clear plan: appropriate weights or pegs, tie-down points, trained staff, weather monitoring and a decision point for packing down if conditions turn.
Connect the shelters properly
When individual marquees sit side by side without proper joining accessories, gaps can let in rain and wind, roof lines can shift, and the final presentation can look improvised. Purpose-built gutter kits help channel water away from the join, while frame clamps or joining bars hold adjacent legs in the correct position.
This is especially important for trade days, food service, registration desks and any operation running through variable weather. A wet strip between two bays is not just annoying – it can damage stock, create a slip risk and undermine the professional image your branded setup is meant to deliver.
Use compatible products wherever possible. Mixing frames from different suppliers or generations may appear to save money, but connection points, roof heights and leg dimensions do not always match. A coordinated system gives you cleaner joins, faster setup and fewer surprises on site.
Build the brand into every bay
Connected shelters create a bigger visual asset, not simply a bigger roof. Repeating your logo across each canopy can create strong event-site recognition, while different printed panels can direct people towards separate services: registrations, merchandise, information, demonstrations or first aid.
Custom dye-sublimation printing is worth considering when the marquee is central to your public presence. It produces colour that is integrated into the fabric rather than applied as a temporary surface layer, helping the result stay crisp across ongoing use. Keep artwork bold and legible from a distance. Small copy may look fine on a screen but disappears when it is three metres above a crowd.
A good design uses the roof for recognition and the walls for useful information. Include a clear logo, brand colours and a simple call to action. If people need to find you, scan a code, ask for a quote or follow a social channel, place that information at eye level on a wall, counter cover or banner rather than relying on the canopy alone.
Mountain Shade can provide a free visual mock-up before custom production, which helps teams see how repeated bays, walls and branding will work as one system before committing to print.
Do not treat accessories as optional extras
Weights, pegs, ratchet tie-downs, wheely bags and replacement parts can determine whether a modular setup is quick to use or a headache at every event. The right accessory kit should be selected alongside the marquee, not after the first windy day exposes the gaps in the plan.
Hard surfaces may require weighted base systems, while grass sites can allow pegging and tie-downs where event rules permit. Many crews need both options because their calendar moves between school ovals, car parks, showgrounds and city footpaths. Keep the equipment labelled by bay so setup staff can quickly identify which gutters, walls and anchors belong to each section.
Spare parts also matter more as your system grows. A damaged roof, wall or leg should not put an entire activation out of action. Buying from a supplier with replacement components available protects the long-term value of the investment and reduces the temptation to patch together mismatched gear.
Make setup repeatable
The strongest system still relies on the people deploying it. Give your crew a documented layout, assign roles and practise the build before the first major event. A simple site diagram showing bay order, wall placement, joining points and anchoring requirements can save valuable time on a busy morning.
Pack in reverse order at the end of the day, dry roofs and walls before long-term storage, and inspect frames for damage before the next outing. That routine keeps the structure presentation-ready and makes it easier to spot a missing clamp or worn tie-down before it becomes a site problem.
Choose modular marquees with enough strength for the conditions you face, enough branding to be noticed and enough flexibility to keep earning their place on every event calendar.
