
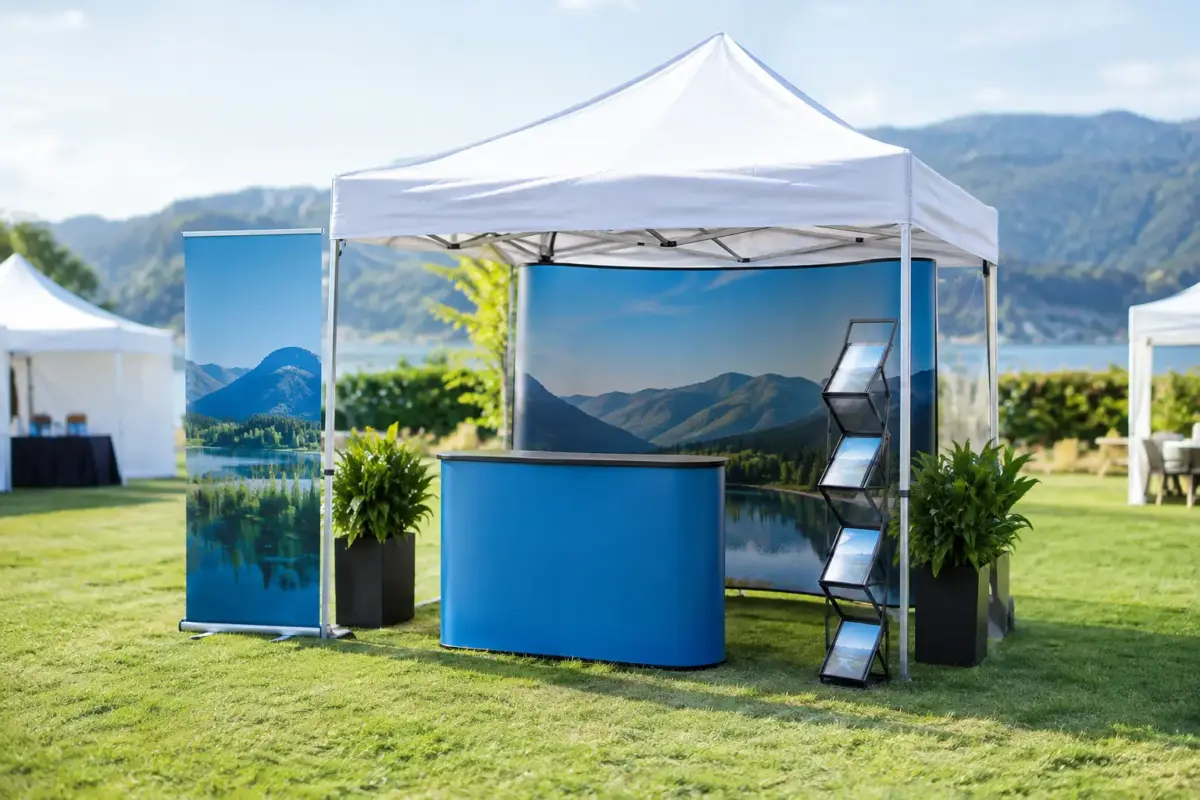
A busy trade show floor gives you seconds to earn a look. An outdoor event can add wind, rain, hard ground and uneven sites to the job. This trade show display guide is built for Australian organisations that need more than a logo on a lightweight stand. Your display needs to draw a crowd, protect your team and equipment, and keep looking sharp through repeated event days.
The right setup is rarely one product. It is a practical system: a branded shelter that creates a defined space, high-visibility signage that works before people reach your site, and accessories that keep the whole operation safe and professional. Get the system right and it becomes a hard-working asset for expos, field days, markets, sporting carnivals, council programs and roadshow activations.
Start with the site, not the artwork
Before choosing a marquee size or approving a print layout, look closely at where the display will work. Indoor exhibition halls usually provide a controlled footprint, level flooring and overhead lighting. Outdoor trade events are less forgiving. You may be setting up on turf, asphalt, pavers or compacted dirt, often with exposed sides and changing weather.
Ask how much frontage you have, whether vehicles can unload close to the site, and how many staff, visitors and products need to fit beneath cover. A compact 3 x 3 m marquee suits product demonstrations, registrations and smaller sales teams. A 3 x 6 m footprint gives you more room for stock, consultations or a service counter. Larger spaces can be created by joining compatible structures, but that only works well when the site plan, access points and tie-down requirements are considered from the outset.
Height matters too. A tall peak helps your marquee read above the crowd, while clear wall placement keeps your team visible. Avoid filling every panel with copy. At event distance, one strong logo, a short message and recognisable colours do more work than a paragraph of services.
Choose a trade show display built for the conditions
A display that looks good in a product photo is not automatically ready for commercial event use. Frame class, roof fabric, connectors and anchoring equipment determine whether the setup stays functional after a long day outside.
For recurring events, a commercial-grade aluminium frame is a smart starting point. It provides a strong balance of durability, corrosion resistance and manageable handling for crews loading gear into a ute or van. Steel frames can suit certain applications where extra mass is useful, but they are generally heavier to transport and deploy. The better choice depends on how often the unit moves, who is setting it up and how hard it will be worked.
Check the frame profile and connection points rather than relying on vague claims such as “heavy duty”. Reinforced legs, quality truss sections and solid connectors reduce movement and wear over time. If wind exposure is likely, select a structure with a stated wind rating and use it within the manufacturer’s conditions. Selected 3 x 3 m commercial structures can be rated up to 100 km/h, but no wind rating removes the need for correct anchoring, active weather monitoring and sensible pack-down decisions.
Roof fabric needs to handle more than a single sunny Saturday. Premium, water-resistant material with UV protection protects staff and stock, while dye-sublimation printing produces rich colour that is built into the fabric rather than applied as a surface film. This is particularly valuable for teams that want consistent branding across dozens of events.
Build visibility in layers
A branded marquee creates your home base. It should not be your only wayfinding tool. Visitors approaching from the other end of a showground or exhibition aisle need cues that reach beyond the roofline.
Teardrop and feather flags are effective for attracting attention from a distance because their vertical shape rises above people and neighbouring displays. Teardrops tend to hold a taut, distinctive shape, while feather flags provide a larger flowing print area. Both need the right base for the surface – ground spikes for suitable turf, or weighted bases for hardstanding. Match the flag height to the venue rules and sightlines; the biggest option is not always best in a low-ceiling hall or crowded indoor aisle.
At eye level, a media wall or pull-up banner can communicate the offer behind your team. Table covers turn an ordinary trestle table into branded frontage and hide cartons, cables and spare stock underneath. If people will photograph your activation, make the visual background intentional. A clean media wall gives customers, staff and event organisers a place to capture images without competing visual clutter.
Think in three viewing distances. Your flags get noticed from afar. Your roofline and large-format logos confirm where visitors should go. Your counter signage, displays and staff conversations close the gap once they arrive.
Print for recognition, not decoration
Custom printing should make it easier to identify your organisation, not make people work to understand it. Use your approved logo files, brand colours and key message, then allow enough clear space for each element to be read. High-resolution artwork is essential for crisp large-format printing. A pixelated logo on a three-metre wall does not look premium, regardless of the frame underneath it.
A roof with branded valances is often the best value choice when budgets are tight because it puts your name at natural viewing height on every side. Full custom-print roofs and walls deliver greater impact for brands that attend major events, launch products or need a cohesive campaign environment. It depends on your event frequency and the role the display plays in generating leads or sales.
Keep calls to action practical. A website address, QR code or short service statement can help, but only if it is legible at the distance where it will be seen. Do not treat every panel as a brochure. Your display should start the conversation; your team can provide the detail.
Mountain Shade can provide free visual mock-ups before custom production, which is the point to check logo scale, panel positions, background colour and any artwork issues. Approving a mock-up carefully is far easier than fixing a print after event week arrives.
Do not separate safety from presentation
Nothing damages brand credibility faster than a loose wall, a sagging roof or a marquee that has not been properly secured. Weights, pegs, tie-down straps and awnings are not optional extras to consider after a weather forecast turns. They are part of the operating system.
The correct tie-down method changes with the surface. Pegs can be highly effective in suitable ground, while hard surfaces require correctly rated weights. Use the recommended equipment on every leg, secure walls properly, and avoid leaving a deployed structure unattended in deteriorating conditions. If conditions become unsafe, pack down. A display is replaceable. People are not.
Create a simple pack list for each event crew:
- frame, roof, walls and printed signage
- weights or pegs with approved tie-down straps
- wheely bags, repair kit and spare parts
- cleaning cloths, cable ties and a site plan
A wheely bag protects the frame during transport and makes longer walks from the car park less punishing. Spare parts matter for organisations that work a regular calendar. Being able to replace a worn connector, roof or wall can extend the life of the entire system and keep your branding consistent.
Make setup fast enough for real event mornings
The best display is one your team can deploy accurately when they are under time pressure. Run a practice setup before the first event, ideally with the same staff who will be on site. Confirm who handles the frame, who fits the roof, who installs weights and who checks the finished presentation.
Pack equipment in setup order. Keep walls, flags and counter materials separate from the frame so staff are not digging through every bag on the grass. Photograph the finished layout and keep that image with the kit. It gives new crew members a clear standard to follow and makes event presentation repeatable across different locations.
Also plan for what happens after bump-out. Dry and clean roofs and walls before storing them where possible. Remove dirt from frame joints, check straps for damage and report missing parts immediately. A five-minute inspection after each use is cheaper than discovering a problem on the morning of a major expo.
Buy for the event calendar you actually have
A low-cost display may be reasonable for a one-off indoor school fundraiser. It is a false economy for a market operator, sporting club, council team or business that spends weekends outdoors. Repeated setup, transport, sun exposure and wind place real demands on materials.
Calculate value across the next two or three years, not just the initial bundle price. A commercial marquee with premium printing, proper weights and replaceable components can attend hundreds of event days while continuing to represent your brand properly. That changes the purchase from disposable promotional merchandise into operational infrastructure.
When choosing, be direct about your use case: event frequency, site surfaces, expected weather, vehicle access, crew size and branding goals. Those details lead to a better recommendation than simply asking for the cheapest 3 x 3 m tent.
The display that earns its place in your event kit is the one that gets your brand seen, gives your people dependable shelter and packs down ready to work again next weekend.
