
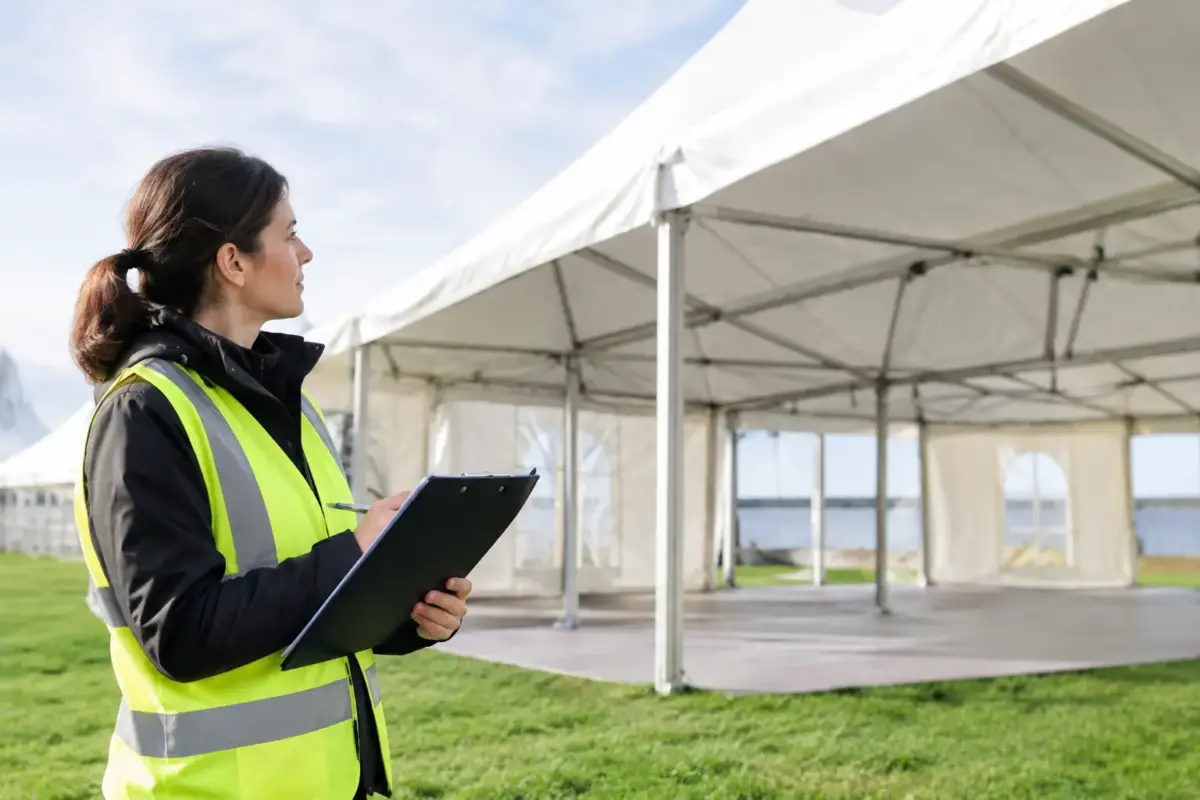
A 3 x 3 m marquee can look simple on a site plan. Once wind gusts funnel between buildings, rain softens the turf and a crowd starts leaning on the frame, it becomes a serious piece of operational equipment. An outdoor shelter risk assessment gives your team a clear way to select the right structure, secure it correctly and decide when conditions are no longer safe to operate.
For markets, sporting clubs, council activations, trade displays and mobile work sites, shelter safety is not a box-ticking exercise. It protects staff and visitors, keeps stock dry, avoids damage to branded equipment and helps prevent an event-day problem from becoming an injury, cancellation or insurance claim.
Why an outdoor shelter risk assessment starts before setup
The best time to manage shelter risk is before the marquee arrives on site. A good assessment considers the complete setup: location, ground surface, expected weather, shelter size, frame grade, anchoring method, public access and the people responsible for installation.
A lightweight promotional gazebo may suit a calm, short indoor-outdoor activation. It is not automatically the right answer for a full-day market on an exposed oval. Likewise, a heavy-duty commercial marquee is only as safe as its setup, tie-down system and operating decisions. Strong hardware reduces risk, but it never removes the need for sound judgement.
Write down who is responsible for checking conditions, securing the shelter and making the call to pack down. If that role is vague, the decision is often delayed when weather turns and everyone is busy serving customers or managing attendees.
Outdoor shelter risk assessment: assess the site first
Start by walking the actual site, not just reading an event map. The planned position may be near a corner of a building, beside parked vehicles or on a slope that changes how wind and water move through the area.
Check the surface and available anchors
Grass, compacted dirt, sand, asphalt, concrete and timber decking all need different securing methods. Pegs can provide strong ground restraint in suitable soil, but they are ineffective on hard surfaces and can be unreliable in loose, waterlogged or recently filled ground. On paved sites, use purpose-built weights and confirm the load is suitable for the structure and forecast conditions.
Do not assume one token weight per leg is enough. The required restraint depends on marquee footprint, sidewalls, exposure, wind direction, ground conditions and whether the shelter is carrying banners, awnings or printed walls. Sidewalls are excellent for shade, privacy and rain protection, but they can also catch wind. Treat them as a change to the loading on the shelter, not just an optional extra.
Look for underground services before driving pegs. Councils, venues and construction sites may have strict requirements around penetration, weighted bases, pedestrian clearance and emergency access. If the site manager cannot confirm what is below the ground, choose a non-penetrating anchoring approach or relocate the structure.
Identify wind channels and falling hazards
An apparently sheltered position can create stronger gusts. Wind can accelerate around building corners, through gaps between marquees and along laneways. Coastal sites, hilltops, sports grounds and open car parks demand extra caution because there is little natural protection.
Check overhead hazards too. Tree limbs, signage, powerlines and unstable building elements can turn a sheltered footprint into the wrong location. Keep the marquee clear of vehicle routes, loading zones and areas where doors may swing into legs, walls or ropes.
Plan for people, not just weather
Public interaction creates its own risks. Set the shelter away from queues, prams, bikes and foot traffic where possible. Mark guy ropes and weights clearly so they remain visible, especially in low light. Keep exits clear and never use walls or stock displays in a way that traps people inside a marquee.
If you are operating electrical equipment, manage leads so they do not cross walkways unprotected. Wet weather, power and crowded spaces need a practical plan, not a collection of extension leads under a tablecloth.
Match the shelter to the job
Your assessment should lead directly to the right equipment specification. Start with size. A larger canopy provides more usable space and greater branding impact, but it also presents a bigger surface to the wind. Choose enough coverage for people, product and workflow without oversizing the site or reducing safe clearances.
Then select the frame class for the frequency and severity of use. Commercial-grade aluminium or steel frames, reinforced leg profiles, quality connector systems and compatible tie-down accessories are built for repeated outdoor work. They are a better long-term investment for organisations that attend regular markets, events, race meetings, school programs or field operations.
Wind ratings need careful interpretation. A stated rating may apply only to a specific model, size, configuration and tested setup. It is not a promise that the shelter can remain open in every storm, nor a substitute for monitoring the actual site. Follow the product instructions, use the recommended restraint system and apply a more conservative approach when gusts, exposure or ground conditions are uncertain.
Mountain Shade customers can match a heavy-duty frame, printed roof, walls, pegs, tie-downs, weights and wheely bag to the job rather than relying on a generic bundle. That matters when the shelter is both a high-visibility brand asset and a working space expected to perform across multiple events.
Build setup controls into the event plan
A safe shelter starts with a competent setup. Brief the crew before opening the frame, particularly where there are unfamiliar volunteers or casual staff. Keep hands clear of moving frame sections, use two or more people for larger structures and inspect all components before use.
Check the roof fabric for tears, the frame for bent legs or cracked joints, and the feet, pins and locking mechanisms for damage. A missing component is not a minor inconvenience if it affects the structure’s ability to lock or anchor correctly. Keep spare parts on hand for high-use equipment and remove damaged components from service until repaired or replaced.
Once erected, secure the marquee before fitting walls, banners, stock or signage. Fit every nominated anchor point, tension straps correctly and make sure weights sit flat and cannot roll, shift or become a trip hazard. Do not tie a marquee to a fence, vehicle, light pole or neighbouring stall unless the site operator has specifically approved it and the anchor is engineered for that purpose.
Assign one person to conduct periodic checks during the day. They should inspect straps, pegs, weights, roof pooling and frame movement, particularly after a weather change or a busy rush. This is also the person who should keep an eye on any awning or banner attachment, as these can change wind loads significantly.
Set clear weather triggers before conditions worsen
A practical risk assessment includes a stop-work and pack-down trigger. Waiting until a canopy is lifting, legs are moving or rainwater is pooling heavily is too late. Use reliable forecasts before the event, but monitor conditions on site because local gusts can be very different from a regional forecast.
Your trigger might be a specified wind strength, sustained gusting, lightning in the area, water pooling, loss of an anchor point or an instruction from the venue, council or event organiser. The exact threshold depends on the shelter model, configuration and exposure. What matters is that the crew knows the trigger and acts immediately.
When high wind arrives, remove sidewalls, awnings, flags and loose signage only if it is safe to do so. If conditions are already dangerous, keep people clear, close the area and follow the event emergency procedure. Do not attempt to hold down a lifting marquee by hand.
Record the decision and improve the next setup
For regular events, use a simple pre-start record covering site conditions, forecast, selected anchors, equipment inspection, setup crew and the person responsible for ongoing checks. Photograph the completed tie-down arrangement if your organisation needs a clear record of how the structure was secured.
After the event, note what worked. Perhaps the weights were difficult to move across a large venue, the chosen position caught afternoon gusts or extra walls made the space more useful but less suitable for the exposure. These observations make the next outdoor shelter risk assessment faster, sharper and easier to defend.
The strongest marquee setup is the one that suits the site, has the right restraint from the start and is packed down without hesitation when the conditions say it is time.
