
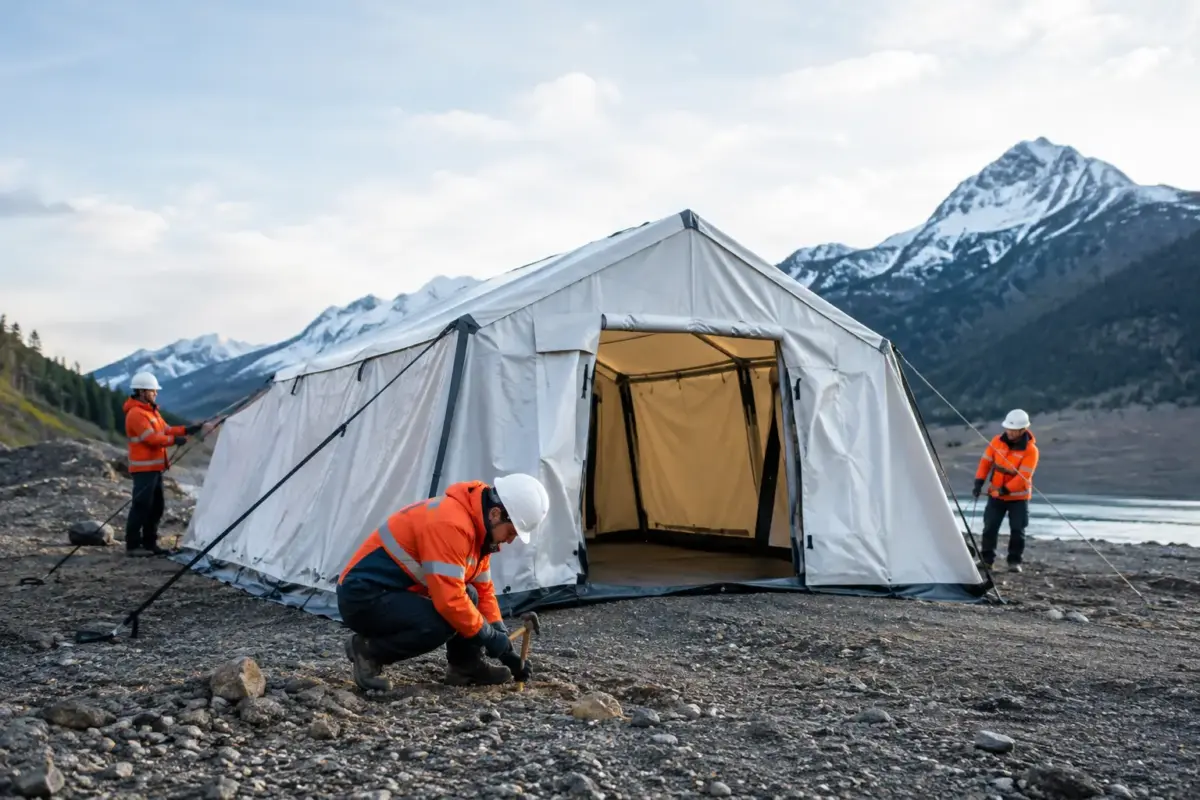
When a storm, fire, community evacuation or major event incident puts people on the move, emergency tent deployment is not an exercise in putting up any shelter available. The structure has to create a usable, identifiable and safe work area quickly – often on wet grass, uneven asphalt, exposed ovals or a crowded car park.
For councils, schools, clubs, medical teams and operational crews, the right tent system gives responders a dry briefing point, a first-aid station, a registration desk, protected supplies or a temporary public-facing service point. The wrong system wastes time, creates avoidable safety issues and can fail when the weather turns.
Start with the job, not the tent
A rapid deployment shelter should be selected around what has to happen beneath it. A two-person first-aid post has different needs to a community relief hub handing out water, paperwork and essential supplies. Likewise, a race team sheltering equipment is working to a different layout from a council crew managing roadside recovery.
Start by defining the operating area. A 3 x 3 m pop-up gazebo is a practical module for a small triage point, check-in desk or command position. A 3 x 6 m structure creates more usable frontage for registration, supplies or a treatment area. For a larger response, several matching marquees can be positioned with clear lanes between them rather than trying to force every activity into one oversized tent.
This modular approach matters when conditions change. One unit can become a staff break area, another can protect stock, and a third can be opened to the public. It also makes transport easier, particularly when gear needs to be loaded into a ute, van or trailer by a small crew.
Choose frame strength before graphics
A branded roof makes a deployment easier to recognise, but the frame does the hard work. Emergency equipment should be commercial grade, with reinforced aluminium or steel components, reliable connectors and legs built to handle repeated opening, closing and transport.
Lightweight promotional shelters can have a place in calm, low-risk situations. They are not automatically the right answer for exposed operational sites or frequent field use. The trade-off is straightforward: a heavier-duty frame costs more and weighs more, but it is faster to trust when the shelter must be deployed repeatedly, packed down wet, shifted between locations and used in variable conditions.
Look beyond a broad label such as “heavy duty”. Ask about leg profile, wall thickness, truss design, connector material, replacement-part availability and stated wind performance. A wind rating is useful only when it is tied to a specific structure and the specified anchoring method. It is not permission to leave a tent unattended in deteriorating weather.
For selected 3 x 3 m structures, Mountain Shade offers wind ratings up to 100 km/h when the required tie-down configuration is used. That level of engineering is valuable for organisations that need a serious shelter platform, but every crew still needs a clear wind-management plan. Severe weather warnings, local site rules and the judgement of the person in charge always come first.
Build a site plan that keeps people moving
A tent does more than keep rain and sun off people. It shapes the way a response site works. Before opening frames, identify vehicle access, pedestrian flow, hazards, drainage, overhead services and the direction of prevailing wind.
Set the rear of the shelter towards the weather where possible, while keeping the front visible and accessible. A full wall on the weather side can reduce wind-driven rain. Half walls can provide privacy at a medical or registration station without closing off supervision. If queues are expected, leave enough clear space outside the marquee for people to stand without blocking emergency access or moving into traffic areas.
For public operations, use printed roofs, flags, banners or media walls to make each zone obvious from a distance. A clearly marked “First Aid”, “Information”, “Relief Collection” or “Incident Control” shelter reduces confusion when people are tired, stressed or unfamiliar with the site. Strong branding is not just promotional in this setting – it is practical wayfinding.
Anchoring is part of the deployment
A frame is only as secure as the system holding it down. Every leg must be anchored. Not two corners. Not “enough to get through the afternoon”. Every leg.
The anchor method depends on the surface. Ground pegs and ratchet straps may suit grass or open soil, provided underground services and local restrictions have been checked. On asphalt, concrete or indoor hard floors, properly sized weight systems are generally the better option. Sandbags can be useful, but purpose-built weights give more predictable ballast and are easier to position securely.
Use tie-down straps at the approved anchor points, keep them tensioned and make sure they do not create trip hazards across public paths. Never attach a tent to a fence, vehicle, light pole or temporary barrier unless it has been assessed as an approved anchor point. It may look convenient, but an unsuitable attachment can transfer load to something that was never designed for it.
Before the site opens, run four checks:
- Confirm each leg is weighted or pegged and each strap is properly tensioned.
- Check that walls, awnings and banners are secured, not flapping or loading up in the wind.
- Inspect the roof fabric, frame joints and locking pins for damage or incomplete engagement.
- Nominate who can order a pack-down if wind, lightning or site conditions become unsafe.
Make setup fast by preparing before the call comes
The fastest emergency deployment happens well before an emergency. Keep the structure, weights, walls, pegs, tie-downs and repair kit together as a complete package. A wheely bag protects the frame in storage and makes it easier to move from the storeroom to the vehicle, but it should not be treated as a catch-all. Label every component and make missing pieces obvious.
A practical response kit includes the frame and roof, the correct number of weights or pegging equipment, ratchet straps, walls, gloves, a mallet where appropriate, high-visibility tape and a simple setup card. If the shelter supports medical work, add lighting, power management, tables and privacy walls as part of the predetermined package rather than sourcing them under pressure.
Crew familiarity is equally important. Run a timed practice setup with the people who will actually deploy the equipment. Include fitting walls, anchoring on the surfaces most commonly used and packing the shelter down correctly. This reveals small problems – a missing pin, an undersized weight kit, a roof that has been packed away damp – before they become operational delays.
Plan for Australian weather and site wear
Australian conditions can shift quickly. Heat, UV exposure, dust, sudden rain and strong gusts all take a toll on shelter equipment. A commercial-grade roof and reinforced frame are a better long-term investment for organisations that operate outdoors often, but maintenance still matters.
Dry the roof and walls before long-term storage whenever possible. Clean off mud, salt spray and dust, then inspect joints and fabric for wear. Do not force a bent truss or damaged leg back into service. Keeping spare parts available can turn a minor repair into a same-week fix, rather than leaving a response kit incomplete when it is next needed.
Custom printing also deserves a practical decision. A fully printed marquee delivers high visibility at community activations and public operations, while a plain roof with interchangeable banners or flags offers flexibility for organisations serving multiple programs. The best choice depends on whether the shelter is a dedicated emergency asset or a multi-use structure that also attends markets, sporting days and events.
A shelter people can rely on
Emergency deployment equipment earns its value when the conditions are not ideal. Choose a frame that suits the exposure, size it around the task, anchor every leg and train the team before the job is live. Then keep the kit complete, maintained and ready to load.
When the call comes, a well-prepared shelter lets your people focus on the community, the crew or the incident in front of them – not on whether the tent will hold up.
